Saturday, 12 October 2013

Steampunk Canal Gates update In Unity

free below is the canal gate that are designed with influence from a gate from the city of Venice I liked the fact it is just a gate but it was made to look extremely pleasing these are just some of the pictures from it in unity


as you can see it is now in the environment I am still trying to master the creation of specular maps and normal maps this is something I have had trouble with and I'm gradually teaching myself how to make them using crazy bump hopefully this will make my environment more detailed and bring some life to these gates

Steampunk Canal Gates 1


 Up on the top of the post to the left is the first tower I made using the technique I have used in previous models, I deleted the other three sides and fully textured one side and then I duplicated this four times around to reform the tower then placing on the dome.

after this to the left I added in a wall and a cylinder which will be the pivot point for the canal gate doors.

Below is a rented out image from my showing off the spectre clarity the bump map of the canal gate, giving you an idea what it will look like in game


Below is an AVI showing the animation of the gate opening and closing.


Steampunk Arch's

As my environment won't also be just steam punk will have a Victorian era feel to it as well. So therefore I have been looking at archways which in the Victorian era they like to do in brick form and iron form. below are some examples of what I'm hoping to do.


Above is the Arch's in Maya showing there basic typology and texturing this is one of the arch is is made of marble the other is made of brick I wanted to add some variation into the environment not just copying and pasting the same arch but giving the environment is some variation.


above are the archways in unity.


Friday, 11 October 2013

Steampunk Bridge's in Unity

Below is the two bridges I made and then added them into Unity.

I will possibly movies in the future to see if they look better in another place


below is the steam lift bridge this bridge I may have to change due to its height limitations of ships going under it as in the final instalment of the game I once esteemed target to be able to go under the bridge.


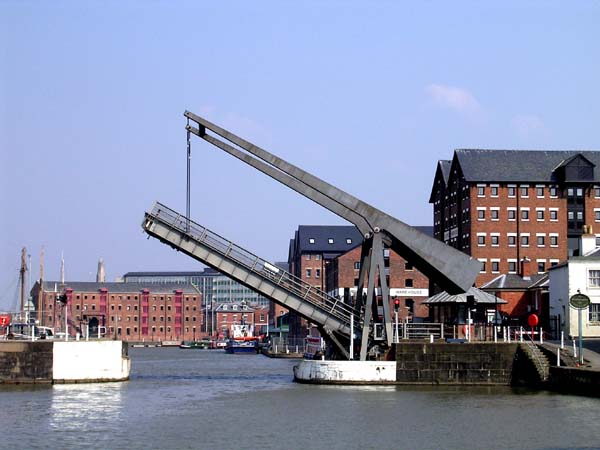
Below are two pictures of the steam arm bridge which I made this bridge does not have the problem of the steam lift bridge of allowing ships to go under it as it goes fully 90° up it does not have a problem as the bridge above so is summoned later instalments I may use only this bridge and move the other bridge to another location so ships are easily able to pass.


Steampunk Bridges 3

Below is some research I did to look at how to build this bridge and the support beams.


Here I am building the final bridge that will cross the canal this will be a bridge that opens up.

Below I started to look at the support of the wheels as you can see I made three designs


 after experimenting above I chose the support to the right and then be can to build the bridge part that gose over the canal and also to build the little steam engine that powers it


 below is the bridge rendered out but is not fully textured 


Below is the animation of the bridge opening and closing to show how it would look in the map


Steampunk Bridges 2

Here is the first bridge that I begun to make. This is the lift bridge that I designed in the previous post. as you can see below the style of the steam wheels are mainly based off old Victorian fairs with the patterns and designs taken from them each one of these wheels has its own unique design that using the same colour palette


Using the wheels that I had made before, from combining them together to make want you see above. The way the bridge works is the bigger wheel tarns the smaller wheel that is connected to the bridge. 

also using the Arm that I made before I extended it to fit the side of the bridge the metal beam that is holding it up will go into the side of the buildings on each side of the canal.


Here is an animation to show you how it works.


Thursday, 10 October 2013

Steampunk Bridges

As my area will have canals in it needs bridges to help the player to navagate around the enviroment, as u can see below I have done a few little skeches


In Unity I have made some boxs to show where I would like the bridges to go in the map.


To make the enviroment more intersting each bridge will be different one will be a lift bridge and the other will be a opening bridge. exarples below


Wednesday, 9 October 2013

Steampunk Waitrose Research

When I was at work I saw this boor handle which I thought would look good in my steampunk enviroment there is also a video below to show how it works. 
 
 
As christmas is comeing up waitrose has started to sell panettone bread and on the box is this logo which again I thought would be a good company logo for my map.


Steampunk Scripting

Here I was looking for some simple code to run animations on mouse down I found it in the book that I had brught myself below.


But also i looked at the code from a guy called Edithson Abelard who dose tutorals for maya into unity. there is a link and video below.

http://www.youtube.com/watch?v=PvmMyMklwyo


Using this simple code as shown blow I will be able to run animations in unity from a click of a buttom.

#pragma strict
var doorObj:GameObject;
var isOpen = false;

var timeBeforeNextAnimation :float = 0;

function OnMouseDown(){
 Debug.Log("mouse is down");

 if( timeBeforeNextAnimation < Time.time )
 {
  if(!this.isOpen){
   doorObj.animation.Play("open");
   this.isOpen = true;
  }else{
   doorObj.animation.Play("close");
   this.isOpen = false;
  }

  timeBeforeNextAnimation = Time.time + 3;

 }
}

function Start () {
}
function Update () {
}

Steampunk Wheel & Arm Unity


Here is the wheel & arm in my Unity Graybox these two images show the animation that is running as the player walks around the map.


This is a picture from the editing view in Unity.

Tuesday, 8 October 2013

Steampunk Engines 2

With me finishing the arm I want to start on the design on the wheels that will play and importernt roll in the steam engine.


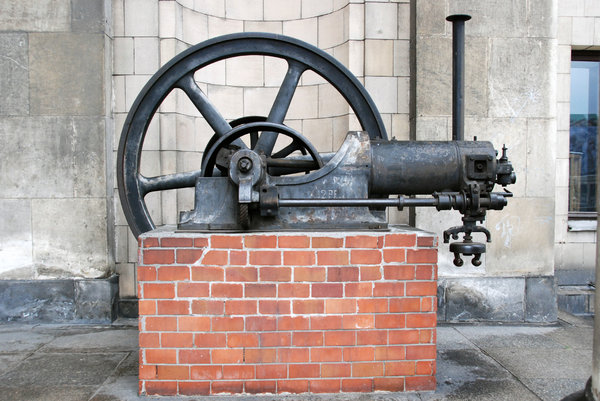
Above are some of the small steam engines that I hope to have doted around the steampunk enviroment power bridges and other contraptions  


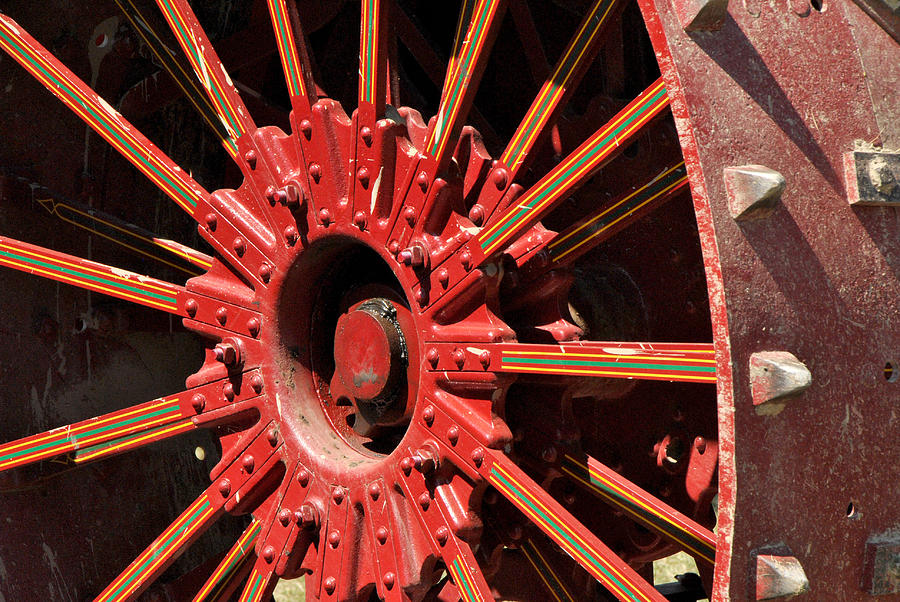
The picture above and the one to the right has some pattans on it, this nice and simple pattan around the sapports of the wheel, This I would like to duplucat the style and add this to the texture of the wheel and the arm.


Put from these simple designs i would like to take them and make them more exstravagent more like the image below.
 
 
Below are the suport arm from the inside of the wheel one textured and the other is not.


The image above is the frist wheel that I made in maya using the quickly made texture below which I will impove on.
 
 
I desided to make a wheel with more sapport arms inside as this will be the biggest one of the two wheels I have made ( as you can see below ) 
 
 
As I said above I would remake the textures ( as you can see below ) I then applied these to the wheels as u can see in the next pictures


 Here is an animation of the wheels spining as if they where working in a bigger machtion.