Here as I explained in my previous post about making the
variation is of the barrel below I decided to make a small barrel this as you
can see below do not look very good due to the fact the metal bolts around look
too big for the barrel itself
Below is the rendered picture of the small barrel that I
created I do not think I'm going to add this into my environment due to it not
looking as good as my previous barrel that I created but I thought I would
still show this work that I'd done for my environment even though I am not
going to use it
In this post I will be talking about one of my new asset is
that I'm planning to make
After making the first Barrel and than playing Assassin Creed 3 (above) I desided to make some verarations of the first Barrel The reason for this is my environment is very large and
needs filling with unique asset of an having won the barrel throughout the
entire environment would look very obvious so by making say five variations of
the barrel and the duplicating that around the environment should help immerse
the player and make the environment more interesting
Below is a step-by-step of me making the barrel in Maya
Below is the texture that I found off Google I added this
texture to my model
As you can see above I added the texture to the model and
then rendered it out showing off the specular map I added to the texture to
show the shining of the metal and the non-shiny surface of the wood
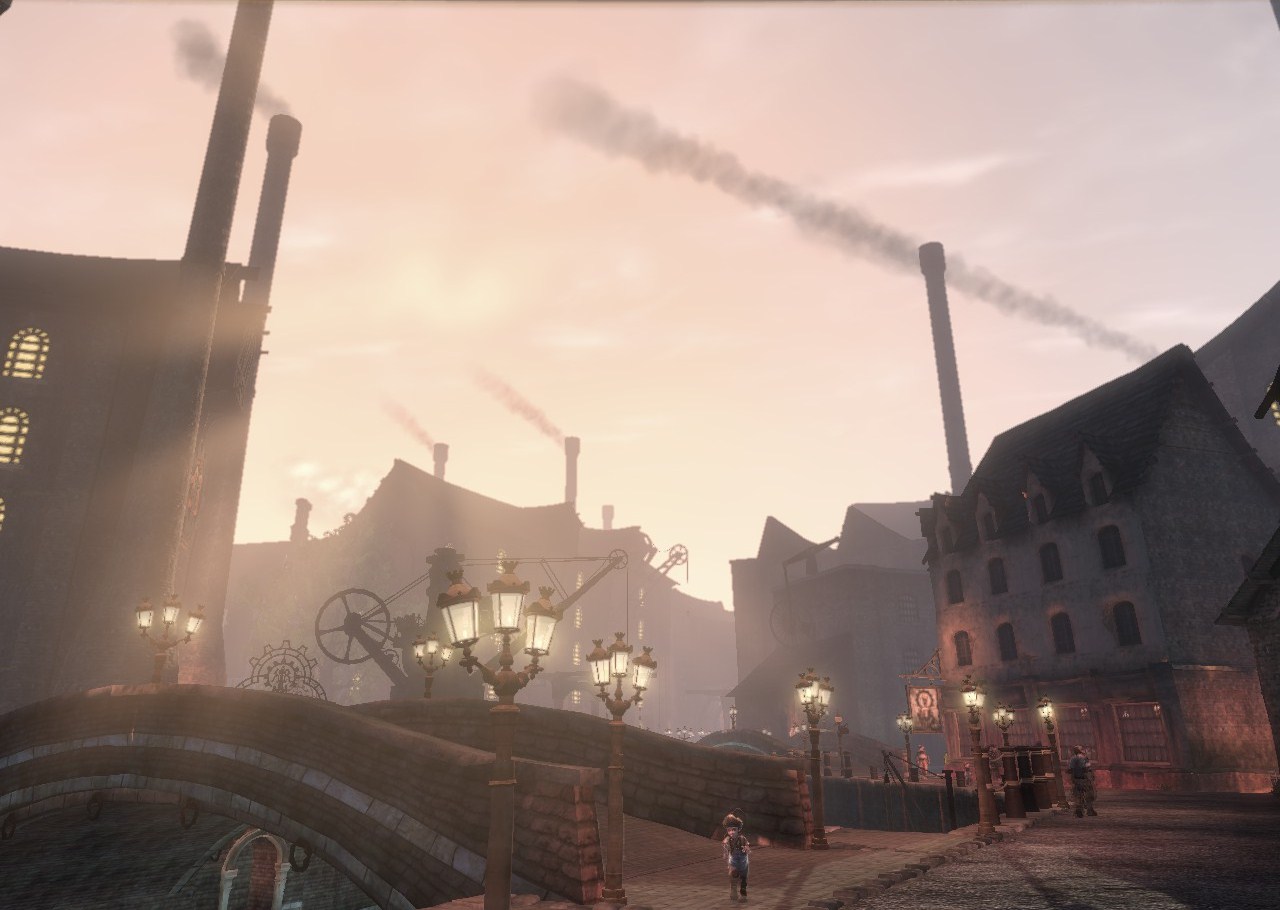
while recently replaying the game fable 3 I was running around Bowerstone Industrial which I had forgotten about as a good source of research for my steam punk environment below are some of the images from this area of the game which I think is very similar to what I wish to achieve with my environment.
another asset which I wanted to dot the canal were barrels below are some research images that I will use in order to help me build a realistic looking barrel.
I started off with a simplecylinder
and while still in the making phase of the cylinder I added in five segments down the sphere
using the animation tool Nonlinear > Flair I was able to extrude out in this move barrel like shape using image below and then I added another segment on the top which I will then extrude down in order to make the barrel seen more 3-D
here is the barrel with the extruded on the top and bottom
here is another view from side of the barrel
below is the texture that I will use on the barrel
below is the 3-D model that I built above textured with the texture I just talked about above
here's the barrel in my lighting with added in spec clarity making the metal part of the barrel shine more than the word as it would do in real life if the light was shining directly at the barrel also I added in a Bump map in order to add texture which can be seen more clearly at the right hand side of the bowel as it disappears into the dark side of the picture
below I decided to extrude the metal rings around the barrel in order to make it look more realistic as I believe the bump map was not providing enough of an extrusion size you can see below I added in these extrusions and then below I showed it again in the light as you can see I believe this makes the barrel look much more realistic as in the previous version of the picture above it looks a very smooth while the one below looks very realistic.
I Was having a look at some tutoral on youtube and I found this one below i found using the flea tool as i did above was alot better then the tecnek he uesd just extruding it up as i think my barrel ended up looking better then his.
around the canal environment one of the main assets which I wanted to dot the environment was a crate below are the steps I took in order to get the finished product the first thing I did was start with a simple box which was equal on all sides
after I made the box I then made an indentation as you can see below
in order to get the exact same width from the edge of the plane to the indentation and the depth I deleted the rest of the box which I will then copy and paste to reform the box and also to texture the plain ones and copy and paste it five times instead of doing the exact same thing on five separate planes.
here is the texture that I will use to decorate the box
here is the final textured plain
here is me beginning to copy and paste it to re-form the box
here is the finished product in my using the lighting in order to show off what the box will look like in the environment I'm very pleased with this crate as I believe it looks very realistic and the texture helps this very well
in order to make some variations I added some cross beams to the box but to be to be critical I do prefer the first box above to this variation I made and I will probably stick with the box above.
in my woodland environment I wanted to have some streams running from a poll of water near the centre of the small island when I was playing sky room I saw how they had made their own version of the stream using particles or possibly a flat plain that had a moving texture on it with no collision this is possibly what I could do in order to make my own streams in my own woodland environment.
below is the drawing of how I hope to implement the stream in the woodland environment showing the three stages of one texture being the bottom another texture with rocks and then the final texture of the moving water.
below is a birds eye view of the trees on the island removed and my attempt at playing around with particles to make the stream as you can see it is not very realistic but this was just a test to see if it could be done and from what I learnt from doing this is going to be a lot harder than I thought it would be.
herebelow is a close-up of the stream moving through the small island this is a simplified version of what I hope to have in the end.
the third environment in which will show my organic woodland skills as you can see below is the basic layout of the environment which I which to achieve the area which the player will be to walk in is an island in the centre of the picture trees around the edge of the small lake of their as athletics.
below is the area where the player would start in the environment from entering from the warehouse through the telephone box portal to another telephone box which can be seen in the picture below.
here is another picture looking back at the starting point in the environment of the trees these palm trees will not be in the final instalment of the environment but I added these in to give the understanding of the density of the trees and see what it would look like
Here I was looking at the basic framework of the warehouse which would be called the entrance this will be the portal and gateways to the other three environments
to the left is the finished pillar which is made up of the parts made to the right I really wanted to the player to get the feel that this really was a warehouse using light metals in order to achieve maximum space.
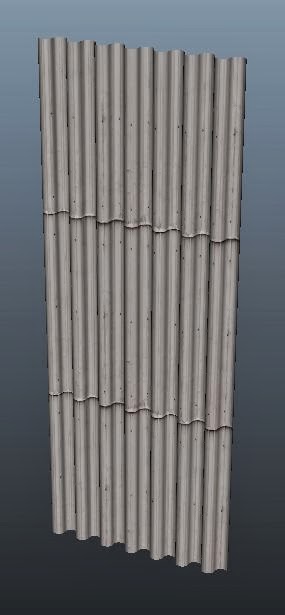
To the left and right are variations of corrugated iron that I would like to use as part of the main wall of the warehouse.
below is the finished wall the top of the wall has areas which would be full of glass which will allow the light is shining and give the sun rays affect their time looking for which I was showing in the research images in the previous post this wall will be copied and pasted along in order to make the warehouse.
for the player to move around the environment I chose the telephone box in the previous posts but I wanted a main room which would hold a telephone box with the originally four worlds which was then changed by my decision to 3 in order to incorporate three windowed side of the telephone box
From this I decided to choose a warehouse which would be entirely empty apart from the telephone box which would be in the centre of the room I also really wanted to have the effect of the picture below with the light shining from the top windows which would give the warehouse light
below are two images that really get a point across of what I want the warehouse to look like with the sunshine shining into a dark warehouse which would contain the telephone box